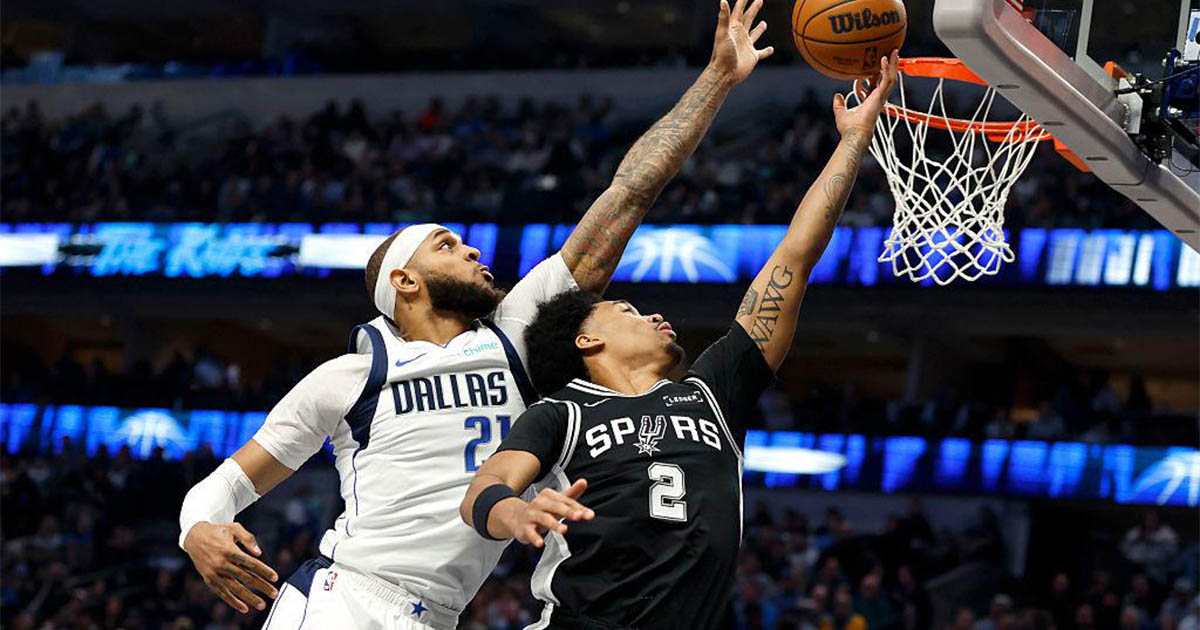
How Spurs vs Mavericks Momentum Shifted Quarter by Quarter
The Player Stats That Changed the Game’s Direction
Few NBA matchups combine tactical contrast, emerging talent, and raw star power quite like Spurs vs Mavericks. When San Antonio and Dallas share the floor, the game often becomes a study in opposites—youth versus experience, system basketball versus superstar creation, patience versus pace. This particular contest delivered all of that and more, unfolding as a stat-driven battle where momentum shifted repeatedly and individual performances quietly decided the outcome long before the final buzzer.
Rather than being defined by a single highlight moment, this game was shaped by numbers—shooting efficiency, defensive pressure, playmaking discipline, and bench contributions. Every possession mattered, and every statistical edge compounded into visible control. To understand how the game truly swung, you have to move beyond the box score headline and look at how specific player stats influenced rhythm, confidence, and decision-making on both sides.
This breakdown dives deep into the performances that mattered most, explaining not just what happened, but why it happened—and what it means going forward for both teams.
How Spurs vs Mavericks Momentum Shifted Quarter by Quarter
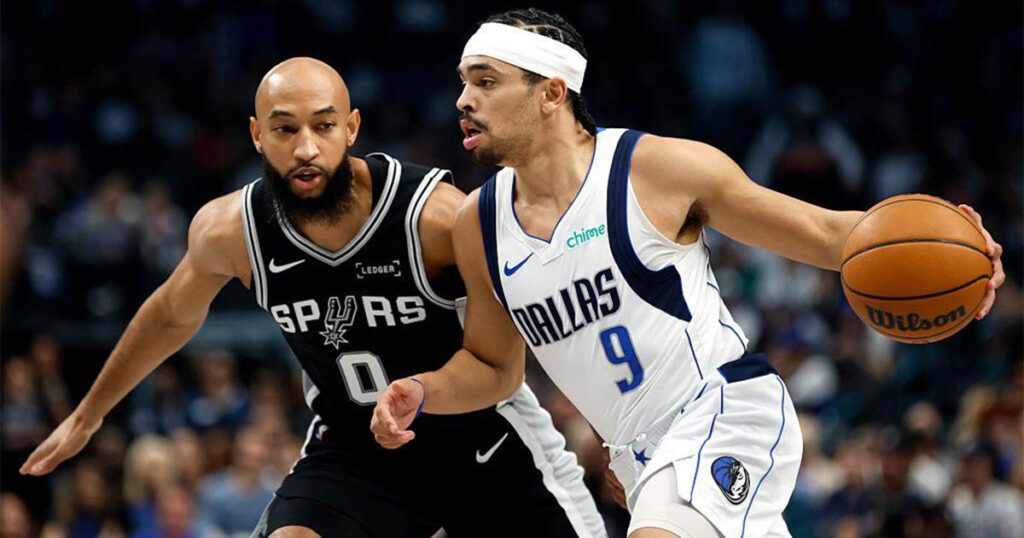
Games like Spurs vs Mavericks rarely follow a straight line. Momentum ebbed and flowed as each team attempted to impose its identity.
First Quarter: Feeling Out the Pace
The opening quarter was about control rather than aggression. San Antonio leaned into ball movement, prioritizing high-percentage looks and early paint touches. Dallas, meanwhile, focused on spacing and deliberate half-court execution. The stat that stood out early wasn’t scoring—it was assists. San Antonio’s assist rate in the first quarter revealed a commitment to sharing the ball, while Dallas kept turnovers low to avoid fueling fast breaks.
Second Quarter: Bench Units Change the Tone
The second quarter marked the first major swing. Bench production tilted the game, with one team gaining a clear advantage in second-chance points and defensive rebounding. Plus-minus numbers from reserve players showed how small lineup adjustments created mismatches, particularly against staggered starters.
Third Quarter: Stars Assert Control
As expected, the third quarter belonged to the stars. Usage rates climbed, isolation plays increased, and efficiency became the difference. Shooting splits during this stretch told a clear story—one team converted difficult looks under pressure, while the other settled for contested jumpers late in the shot clock.
Fourth Quarter: Execution Over Energy
In the final quarter, energy took a back seat to execution. Turnovers, free-throw accuracy, and defensive rotations determined the outcome. The team that maintained composure in close possessions ultimately dictated the result.
Spurs vs Mavericks Player Stats That Changed the Game’s Direction
While highlight reels often focus on scoring totals, this matchup was defined by subtler statistical advantages.
Usage Rate vs Efficiency
One of the most revealing contrasts in Spurs vs Mavericks came from comparing usage rate to true shooting percentage. High usage doesn’t always translate to positive impact, and in this game, efficiency under pressure mattered more than volume. Players who balanced scoring responsibility with shot selection consistently elevated their team’s offensive rating.
Rebounding Margins That Created Extra Possessions
Rebounding is often overlooked, but the rebounding margin directly influenced possession count. Offensive rebounds led to kick-out threes and reset plays, forcing defensive breakdowns. Defensive rebounding, on the other hand, prevented transition opportunities and slowed momentum swings.
Spurs vs Mavericks Offensive Performances That Stole the Spotlight
Offense in this matchup wasn’t just about scoring totals—it was about how points were generated.
Scoring Leaders Who Took Control
The top scorers in Spurs vs Mavericks didn’t dominate through brute force alone. They exploited mismatches, attacked closeouts, and punished defensive lapses. Shot charts revealed a preference for specific zones, highlighting how game planning influenced scoring efficiency.
Shooting Efficiency That Made the Difference
Field-goal percentage alone doesn’t tell the full story. Effective field-goal percentage (eFG%) showed which team maximized value per shot. Timely three-pointers and high-percentage finishes at the rim separated productive possessions from empty ones.
Three-Point Numbers That Swung Momentum
Few things shift momentum faster than consecutive three-pointers. In this game, three-point accuracy during short runs forced defensive adjustments and altered spacing. Teams that hesitated on closeouts paid the price immediately.
Spurs vs Mavericks Defensive Stats That Went Under the Radar
Defense rarely gets the same attention as scoring, but it quietly dictated the flow of this contest.
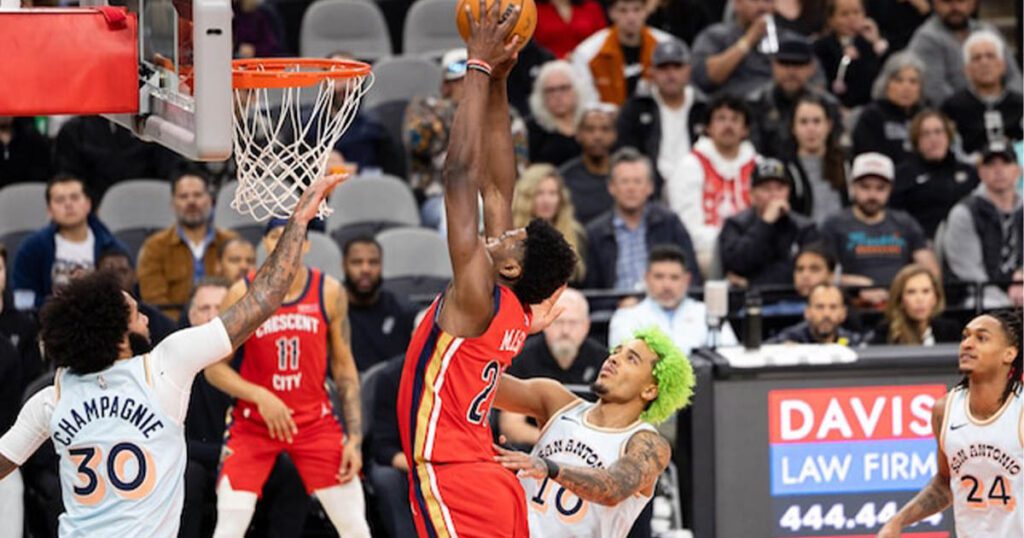
Blocks and Rim Protection
Interior defense played a critical role. Blocks weren’t just highlight moments—they discouraged drives and altered shot selection. Players with strong rim protection numbers forced opponents into mid-range attempts late in possessions.
Steals and Deflections Creating Chaos
Steals don’t always appear in bunches, but timely deflections disrupted offensive rhythm. Live-ball turnovers led directly to fast-break points, swinging momentum without needing half-court execution.
Spurs vs Mavericks Playmaking Stats That Controlled the Tempo
Basketball IQ often shows up in passing stats, and this matchup was no exception.
Assist Leaders Dictating Flow
Assist leaders in Spurs vs Mavericks weren’t just passers—they were decision-makers. Their ability to read help defense and deliver passes on time kept offenses fluid and prevented stagnation.
Turnover Numbers That Decided Possessions
Turnovers are possession killers. The team with fewer unforced errors consistently generated better looks, particularly in late-game situations. Assist-to-turnover ratios provided a clear picture of which team maintained composure.
Spurs vs Mavericks Bench Impact and Rotation Stats
Depth often decides regular-season games, and this one was no different.
Few NBA matchups combine tactical contrast, emerging talent, and raw star power quite like Spurs vs Mavericks.
When San Antonio and Dallas share the floor, the game becomes a study in opposites—youth versus experience, system basketball versus superstar creation.
This particular contest delivered all of that and more, unfolding as a stat-driven battle where momentum shifted repeatedly and individual performances quietly shaped the outcome.
Plus-Minus Numbers That Reveal True Impact
Plus-minus statistics highlighted which lineups thrived and which struggled. Certain combinations consistently produced positive net ratings, offering insight into future rotation decisions.
Spurs vs Mavericks Free-Throw and Foul Data That Shaped the Outcome
Free throws often decide close games, and the numbers here were telling.
Free-Throw Accuracy Under Pressure
Late-game free-throw shooting separated composure from hesitation. High conversion rates reflected mental toughness as much as technique.
Foul Trouble and Rotation Adjustments
Early foul trouble forced rotation changes, impacting defensive matchups. Players forced to sit altered lineup chemistry and spacing, particularly in the paint.
Spurs vs Mavericks Advanced Metrics That Tell the Real Story
Traditional stats only scratch the surface.
Offensive and Defensive Ratings
Advanced metrics like offensive and defensive rating provided a possession-by-possession evaluation of performance. One team’s ability to maintain efficiency despite pace changes proved decisive.
Pace and Possession Control
Pace statistics revealed which team dictated tempo. Slowing the game limited transition opportunities, while quickened pace exposed defensive mismatches.
Spurs vs Mavericks Coaching Decisions Reflected in the Numbers
Coaching adjustments often show up subtly in the stat sheet.
Timeout Timing and Momentum Control
Well-timed timeouts halted scoring runs and reset defensive focus. Momentum swings often coincided with strategic pauses.
Matchup Adjustments and Switching Schemes
Switching frequency and defensive coverage choices impacted shooting efficiency. Adjustments mid-game revealed which coaching staff adapted more effectively.
Spurs vs Mavericks Final Stat Takeaways Fans Should Remember
When the dust settled, several key numbers stood out:
- Efficiency outweighed volume
- Bench production mattered more than raw star totals
- Defensive discipline prevented momentum collapses
- Turnovers decided late-game possessions
These elements combined to define Spurs vs Mavericks as a game won through execution rather than spectacle.
What This Spurs vs Mavericks Game Means Going Forward
This matchup offered valuable lessons for both franchises.
For the San Antonio Spurs, the game reinforced the importance of disciplined ball movement and defensive communication. Young players showed growth, and rotation data highlighted promising lineup combinations.
For the Dallas Mavericks, the numbers underscored the need for consistent defensive effort and bench reliability. When spacing and efficiency aligned, their offense remained among the league’s most dangerous.
As future meetings approach, the data from this game will shape preparation, strategy, and expectations. If one thing is clear, it’s that Spurs vs Mavericks remains a matchup where the smallest statistical edges can swing the biggest moments.
Also read for more information : Wembanyama scores 29 points as Spurs beat Mavs despite another 30-plus night from Cooper Flagg
Read next on Dribkick : 9 Key Player Stats That Make Nuggets vs Knicks a Must-Watch NBA Battle
Spurs vs Knicks: 7 Defining Moments That Shaped the NBA Cup Battle